Quick Apache Solr Setup
2015-01-31

It has been long time since I started with setup/configuration related blog post. This post provides steps for setting up developer machine for Apache Solr. Apache Solr is an opensource search engine written in Java, from the Apache Lucene project - with many powerful features.
I have encountered quite a few experienced developers that either don't know how to use Apache solr or avoid it as it's in the scary/too hard basket. In this introductory post, we'll look into how to install Apache Solr in order to use it for development.
There are many ways to install and configure Solr, but for this post we'll look at quickest way to set it up for development reasons.
What is Apache Solr?
In nutshell, Solr is a stable, reliable, and fault-tolerant search platform with a rich set of core functions that enables developers to improve both user experience and the underlying data modeling. For instance, among functionalities that help deliver a good user experience, we can name spell checking, goespatial search, faceting, or auto-suggetst, while backend developers may benefit from features like joins, clustering, being able to import rich document formats, and many more.
However, to fully grasp how to use it for your benefit, here are Solr's core features and why you may want to use Solr:
- Powerful full-text search capability
- High scalability and flexibility
- Built in security
- Easy monitoring
- Powerful analytical support
Getting started
Step 1:
Install docker on your machine. Reference: get-docker
Step 2:
Pull solr image from docker if not present. And, run it in detached container mode, if you are interested in viewing a complete run log. You can skip the detached mode by skipping -d in the following command.
$> docker run --name local-solr -d -p 8983:8983 -t solr:9.5.0-slim
Or start Solr docker if present
$> docker start {solr-container-id}
This will start the solr container on your machine on port specified as 8983. You can verify the container running by command.
$> docker container ls
Step 3:
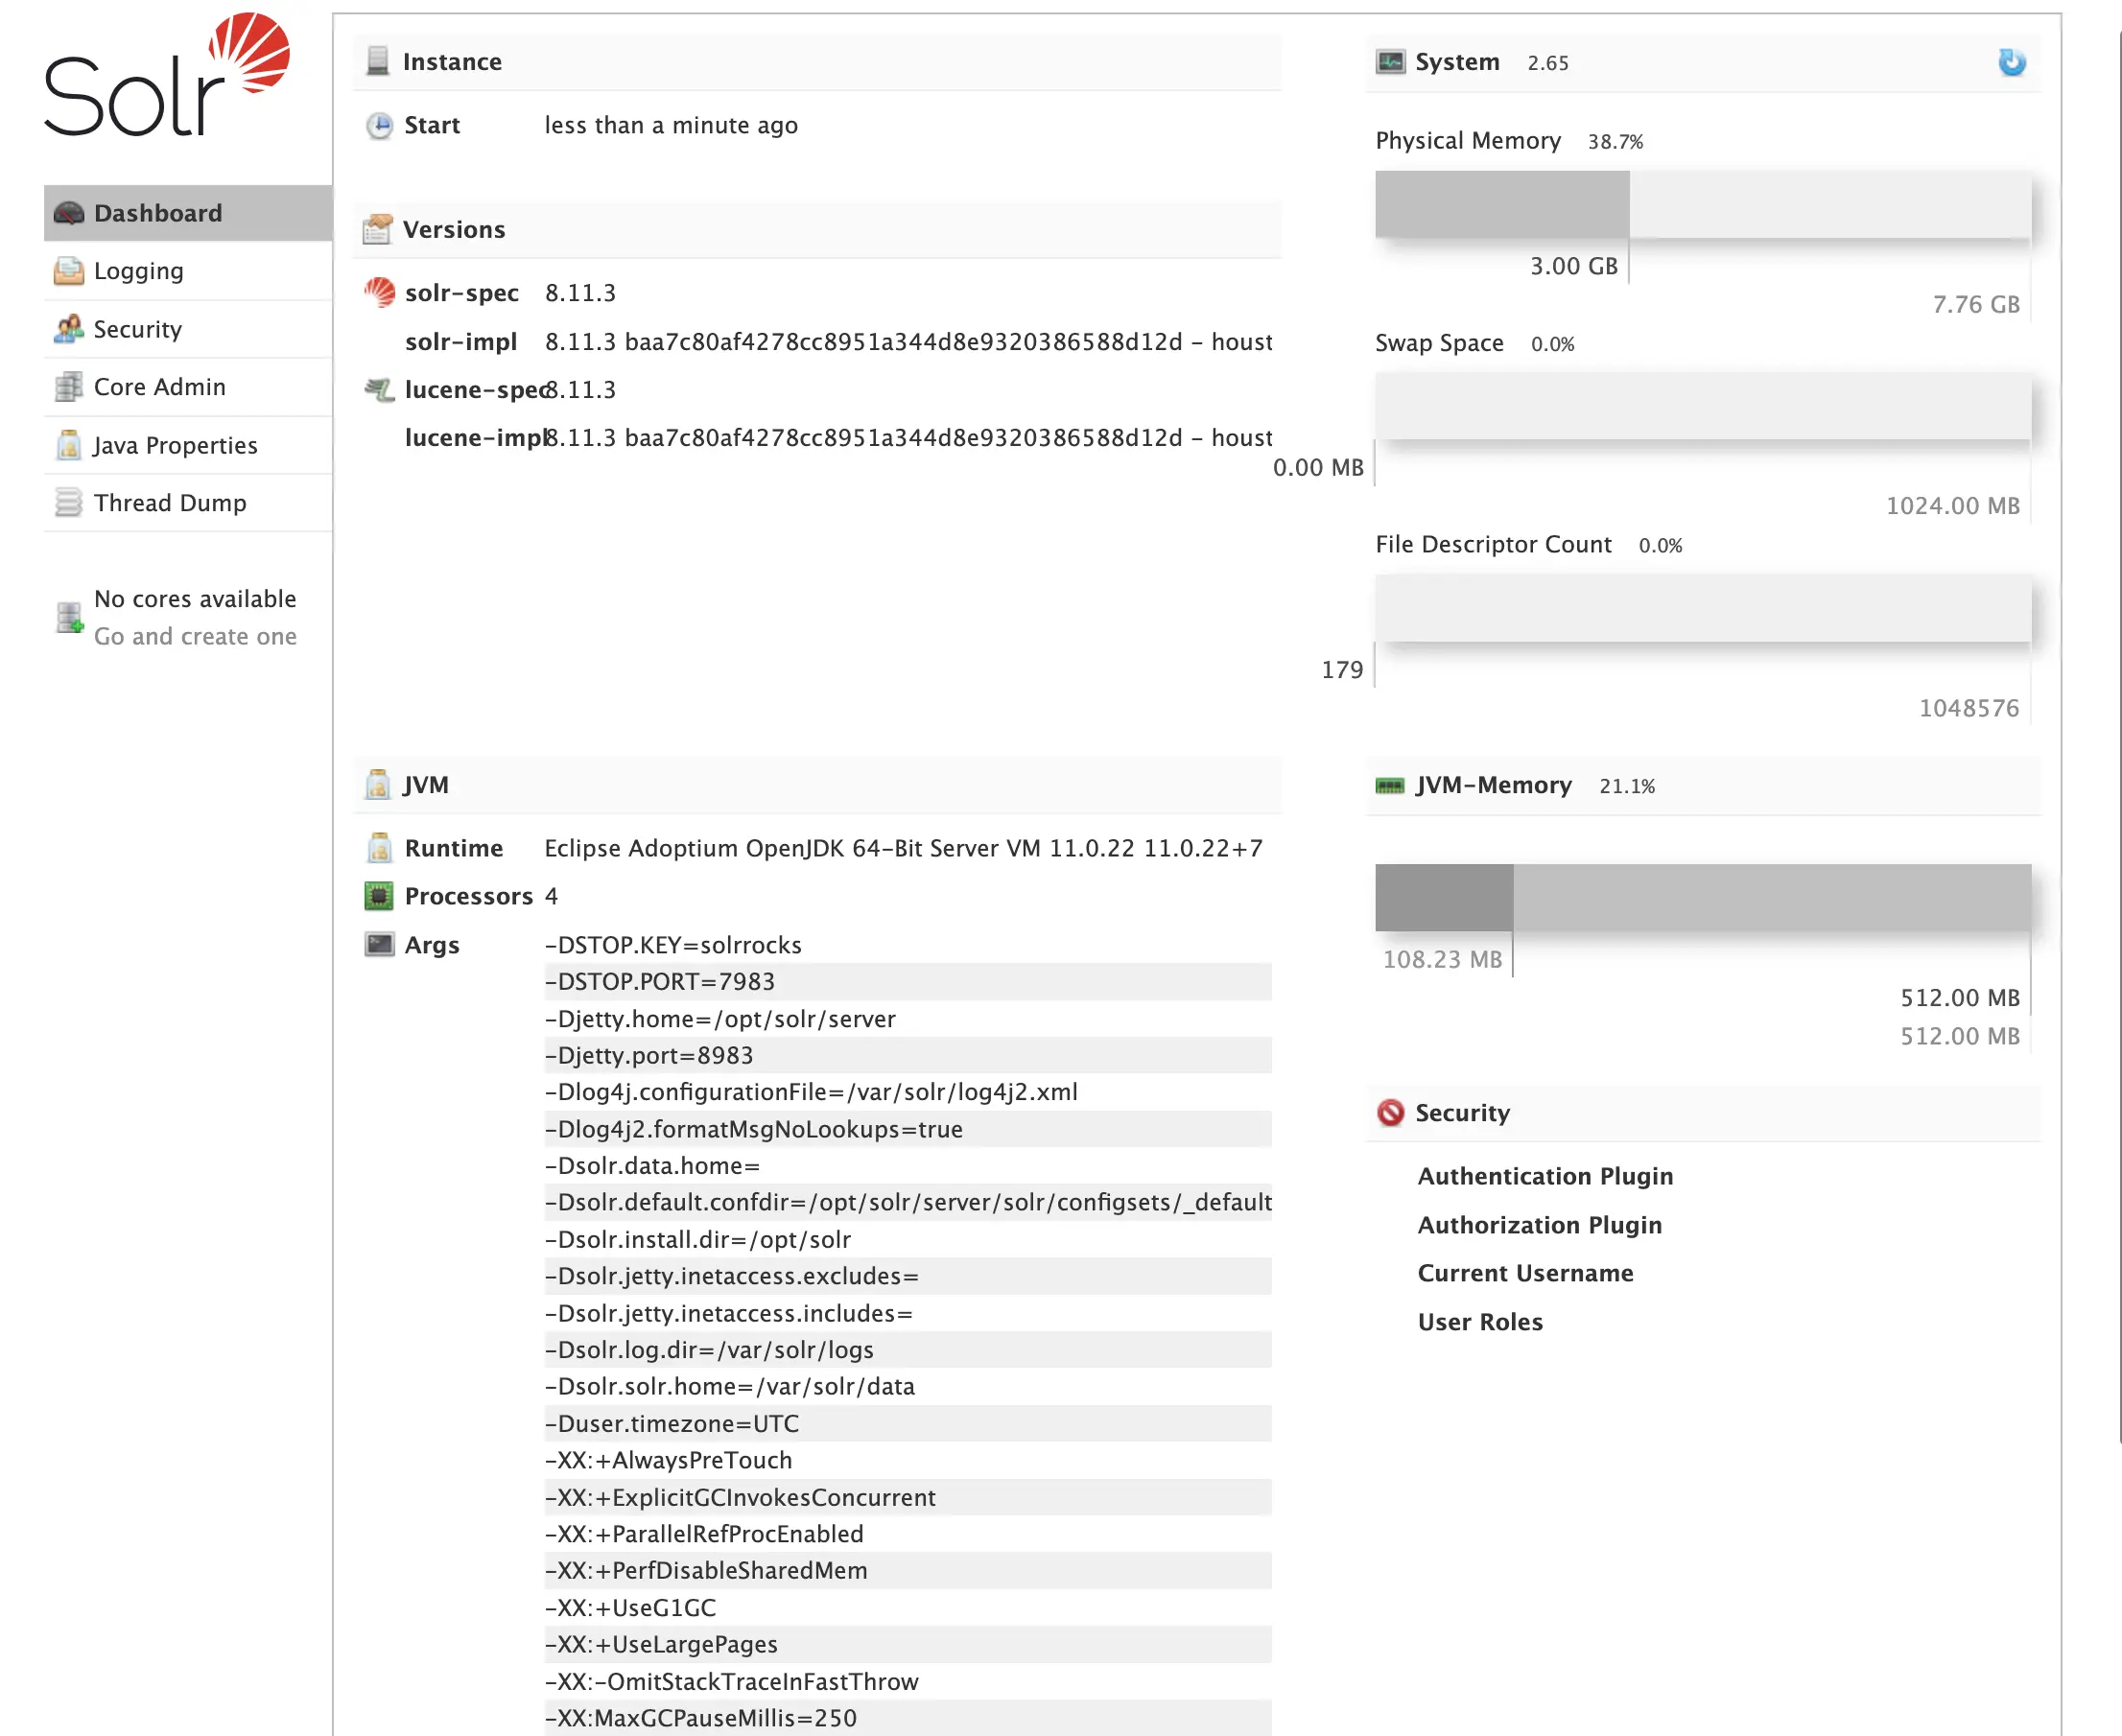
Your Solr application is up and running. You can open a Solr web-console on http://localhost:8983/.
Step 4:
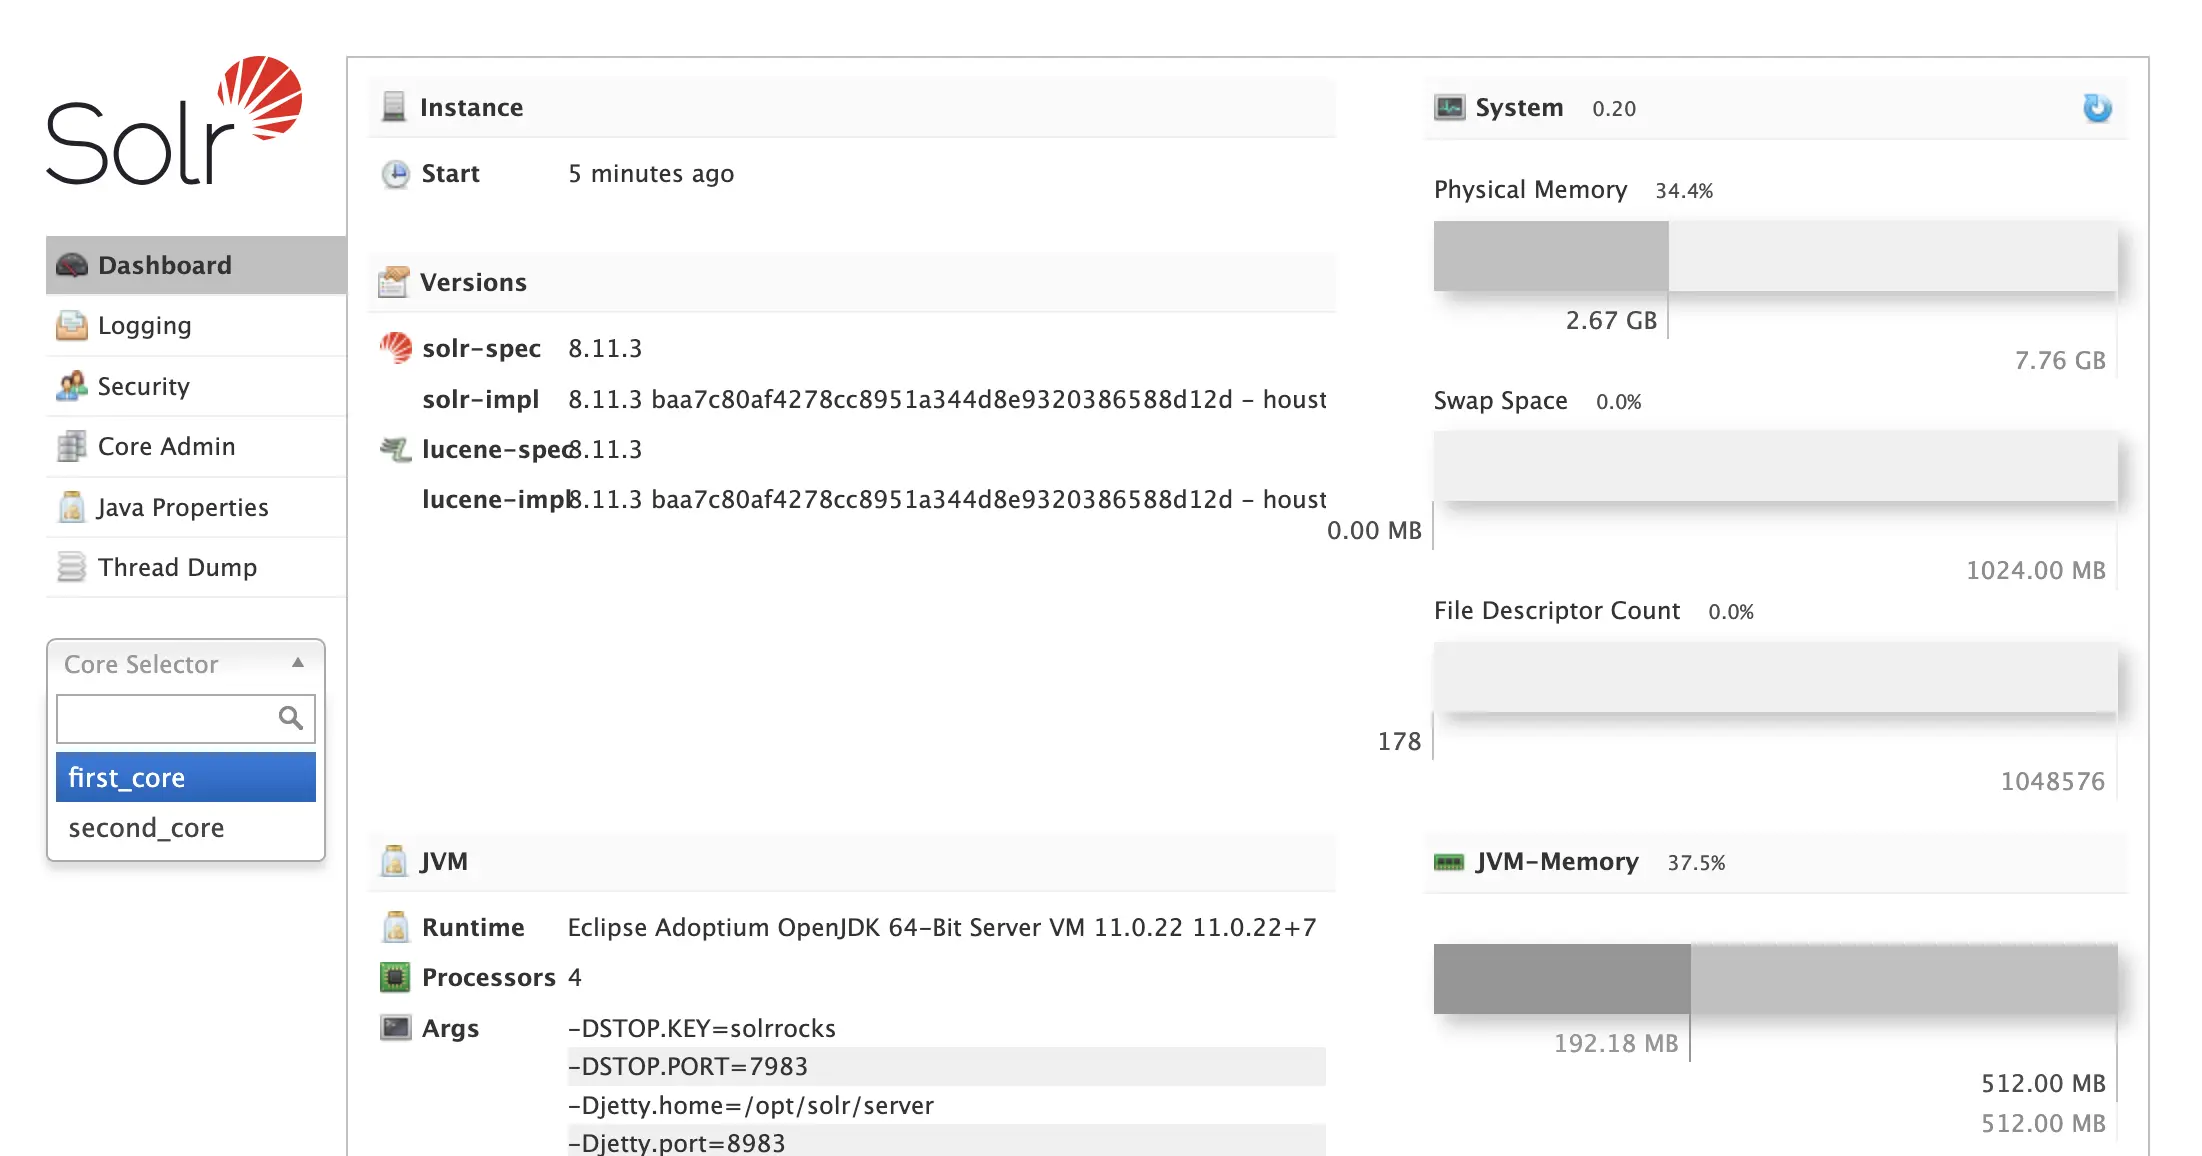
Creating your Solr core wherein your data will reside.
$> docker exec -it --user solr local-solr bin/solr create_core -c first_core
Step 5:
Add some-data in your core. Post raw JSON data using http://localhost:8983/solr/{CORE-NAME}/update.
[{
   "id": 1,
   "name": "ramdom1",
   "description": "something"
 },
 {
   "id": 2,
   "name": "ramdom2",
   "description": "nothing"
}]
And reload core using POST http://localhost:8983/solr/admin/cores?action=RELOAD&core={CORE-NAME}.`
Step 6:
Check if data exists in the core. Select core from left, click on the query link, and execute query.
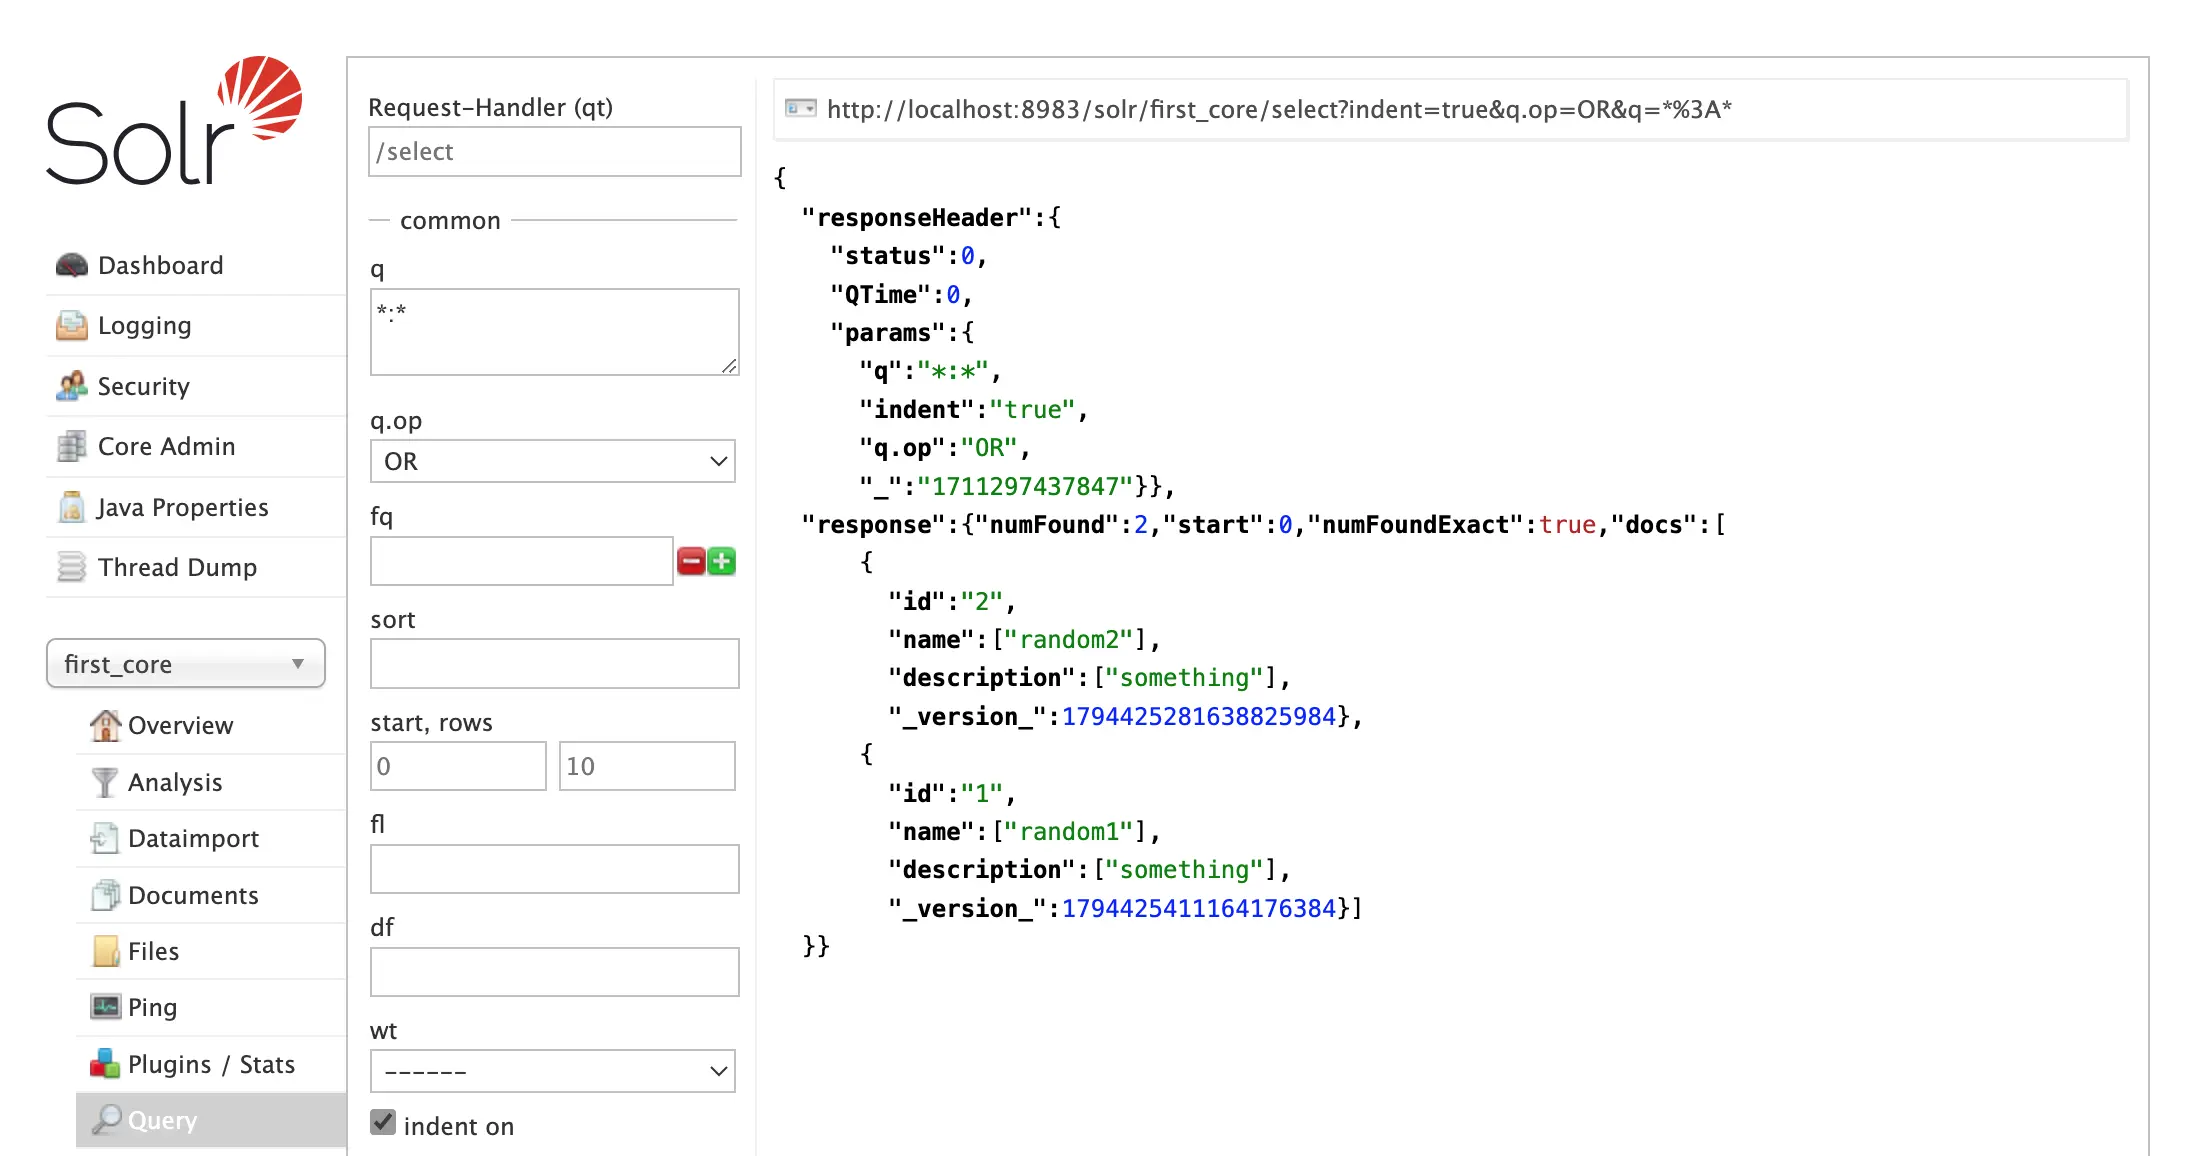
Step 7:
Enjoy querying via web-console. Here are some basic fields you can perform queries on.
- Request-handler (qt) — Specifies the query handler for the request. If a query handler is not specified, Solr processes the response with the standard query handler.
- q — The query event. See Searching for an explanation of this parameter.
- fq — The filter queries. See Common Query Parameters for more information on this parameter.
- sort — Sorts the response to a query in either ascending or descending order based on the response’s score or another specified characteristic.
- start, rows — start is the offset into the query result starting at which documents should be returned. The default value is 0, meaning that the query should return results starting with the first document that matches. This field accepts the same syntax as the start query parameter, which is described in Searching. rows is the number of rows to return.
- fl — Defines the fields to return for each document. You can explicitly list the stored fields, functions, and doc transformers you want to have returned by separating them with either a comma or a space.
- wt — Specifies the Response Writer to be used to format the query response. Defaults to XML if not specified.
- indent — Click this button to request that the Response Writer use indentation to make the responses more readable.
- debugQuery — Click this button to augment the query response with debugging information, including “explain info” for each document returned. This debugging information is intended to be intelligible to the administrator or programmer.
- dismax — Click this button to enable the Dismax query parser. See The DisMax Query Parser for further information.
- edismax — Click this button to enable the Extended query parser. See The Extended DisMax Query Parser for further information
- hl — Click this button to enable highlighting in the query response. See Highlighting for more information.
- facet — Enables faceting, the arrangement of search results into categories based on indexed terms. See Faceting for more information.
- spatial — Click to enable using location data for use in spatial or geospatial searches. See Spatial Search for more information.
- spellcheck — Click this button to enable the Spell Checker, which provides inline query suggestions based on other, similar, terms. See Spell Checking for more information.
Conclusion
Solr search engine is fast for text searching/analyzing because of its inverted index structure. Solr is consistent and very well-documented. If your application requires the sort of extensive text searching that Solr supports, then Solr is the right choice for you. There are dozens of big-name companies (like AT&T, Netflix, Verizon, and Qualcomm) that use Solr as their primary search engine. Even Amazon Cloud search, which is a search engine service by AWS, uses Solr internally.